
By Logan Fox
Resource Permissioning in Laravel Nova

Have you ever built a Nova resource that shouldn’t be deleted from the Nova dashboard due to one issue or another?
Yet that pesky garbage can icon remained just begging for someone to delete it.
Or maybe you’ve had a resource that should be read-only to certain users but you couldn’t figure out how to remove the edit icon? If you answered yes to any/all of the above questions, keep reading! You may just find this article helpful.
Laravel Nova is a pretty awesome tool for handling admin actions in your application. It has so many powerful features and the ability to add so many more. One thing it lacks is inline resource permissions. While it would be nice to specify resource permissions directly on the resource class, Nova doesn’t give us that option.
This article is a step-by-step guide to writing basic permissions for Nova resources.
Getting started
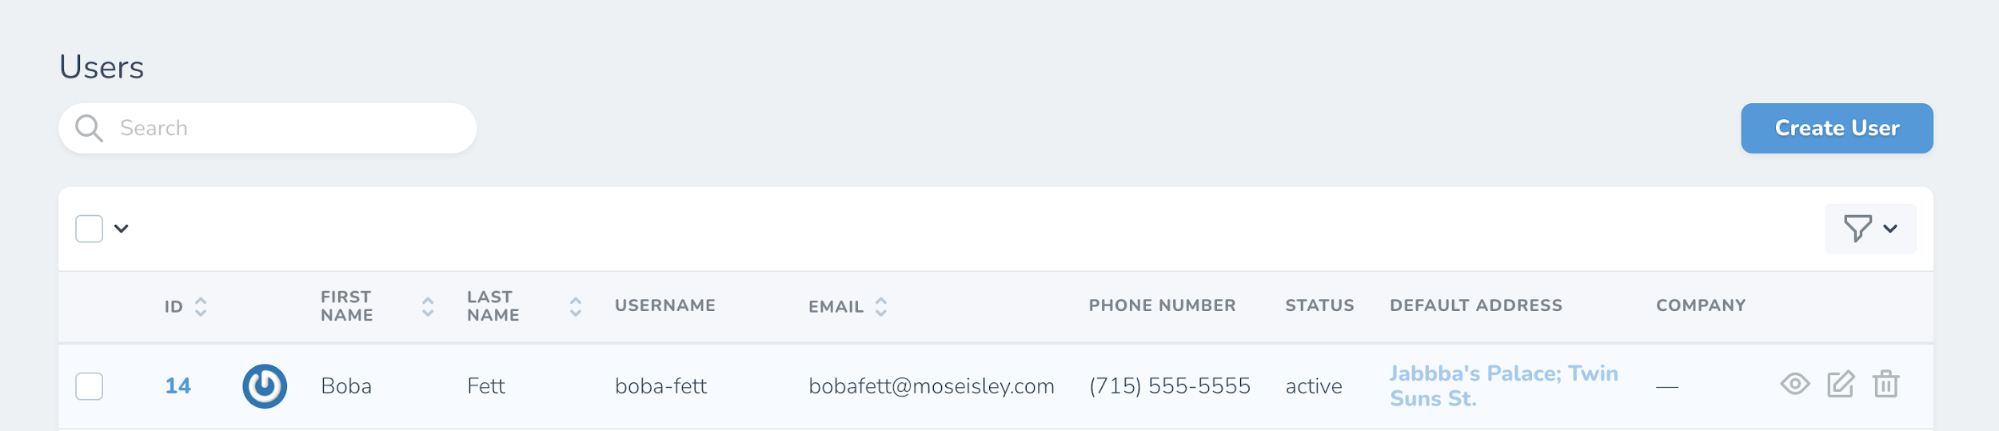
In my Nova dashboard, I’ve navigated to my user resource index view. I have not yet set any permissions on this resource.
Policies
Resource permissions are based on Laravel Policies. Policies are classes that organize authorization logic around a particular model or resource. Nova binds registered Policies to its Resource classes. Therefore we can use a Policy to register permissions for our User Resource.
First, we’ll create an App\Policies\BasePolicy.php class for our policies to extend.
<?php

namespace App\Policies;

use Illuminate\Auth\Access\HandlesAuthorization;
use Illuminate\Foundation\Auth\User;
use Modules\Admin\Models\Admin;

class BasePolicy
{
   use HandlesAuthorization;

   public function before($user)
   {
       //
   }

   public function viewAny(User $user): bool
   {
       return false;
   }

   public function view(User $user, $model): bool
   {
       return false;
   }

   public function create(User $user): bool
   {
       return false;
   }

   public function update(User $user, $model): bool
   {
       return false;
   }

   public function delete(User $user, $model): bool
   {
       return false;
   }

   public function restore(User $user, $model): bool
   {
       return false;
   }
}
This class contains each of the permission types available to us. Notice the before($user) method at the top? This method gets run before the request inspects the available permissions. It will take precedence over any method on the policy.
Next, we’ll create a policy for our User Resource.
php artisan make:policy UserPolicy
Be sure to extend our BasePolicy class on your new UserPolicy.
You can then clear out any generated code in the UserPolicy class so it looks like this:
<?php

namespace App\Policies;

use App\Policies\BasePolicy;

class UserPolicy extends BasePolicy
{
   //
}
Next it’s time to register our policy. Navigate to App\Providers\AuthServiceProvider.php and add the policy to the $policies array. Nova automatically listens for any policies registered here and applies them to their respective resources.
protected $policies = [
   User::class => UserPolicy::class,
];
Finally, we can configure our permissions by explicitly declaring what we want to allow.
<?php

namespace App\Policies;

use Illuminate\Auth\Access\HandlesAuthorization;
use Illuminate\Foundation\Auth\User;

class UserPolicy extends BasePolicy
{
   use HandlesAuthorization;

   public function viewAny(User $user): bool
   {
       return true;
   }

   public function view(User $user, $model): bool
   {
       return true;
   }

   public function create(User $user): bool
   {
       return true;
   }

   public function update(User $user, $model): bool
   {
       return true;
   }
}
By leaving the delete method out, it falls back to the BasePolicy and returns false. As you can see here, the delete icon no longer renders for the User Resource!

You can even configure permissions based on user roles, emails, etc. This snippet will return the result of the isAdmin() method, where we are running additional logic to determine if the authenticated user is an admin.
public function create(User $user): bool
{
   return $user->isAdmin();
}
You can really get as fancy as you want with permissions since Laravel provides the authenticated user as well as the model in question.
Conclusion
As you can see, Nova resource permissioning is actually very simple. It can be broken down into four basic steps:
- Generate a policy
- Configure permissions
- Register policy
- Let Nova work its magic
Maybe one day we’ll be able to define permissions directly on the resource class itself. Until then, I’d say this is by no means a painfully difficult approach to add such a powerful feature to your admin dashboard.
Feel free to reach to us @zaengle and let us know your thoughts on this article.
Considering Laravel for your software or web application? Zaengle is the preferred Laravel development team for a number of businesses and organizations, both large and small.
We’d love to show you the Zaengle “Be Nice, Do Good” difference and help you decide if Laravel is right for your organization.

By Logan Fox
Engineer
Logan enjoys solving complex problems with simple solutions and is always up for a challenge.


